Over the course of several years and trial-and-error, what we called the Potty Tent has evolved into a Potty Shed. Not only is this my most popular post, but people who have been to the house have inquired about it and taken pictures of it because they, or someone they know, has a dog that doesn’t love to go potty outside in inclement weather. Original post at the bottom.
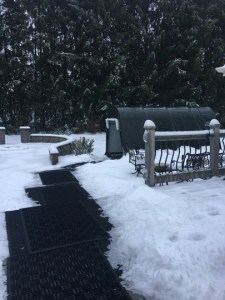
This is what we currently have outside year-round – a 6×6 outdoor shed from Shelter-Logic used as a covered potty area. This is well worth the price for the convenience! Five years later, it’s like renting it for about $10 a season! What a great value to avoid shoveling, high winds, and rain while also providing quick and easy access for a fussy or senior dog to do their business outside!
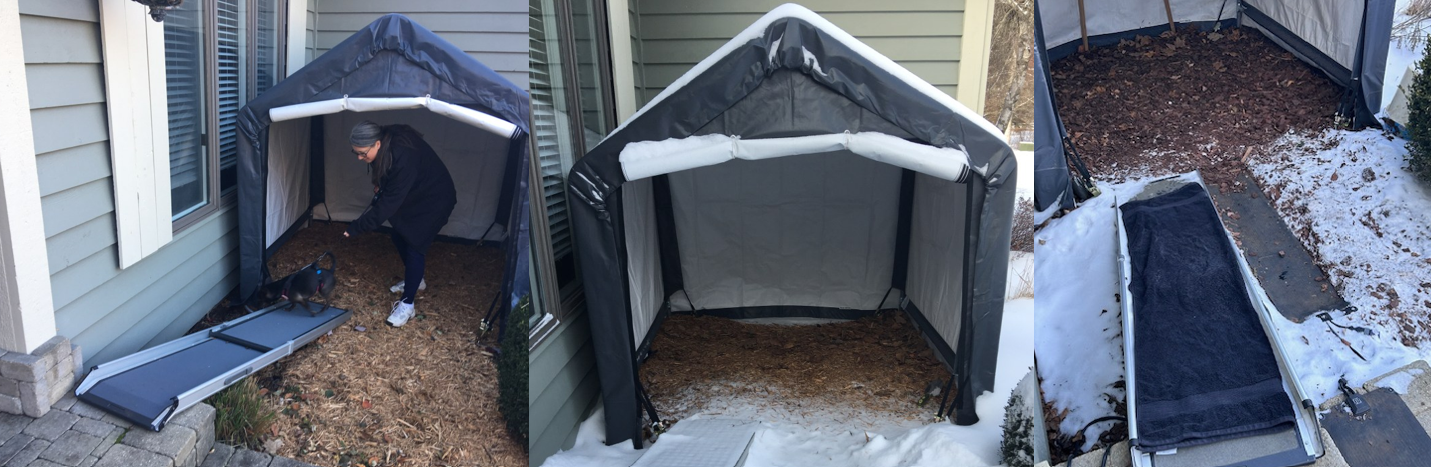
I found that towels work best on the ground and on the ramp where our dog, Penelope, is stepping. Snow easily shakes off the towels if it accumulates. If they freeze, they still retain a bit of traction; they’re not too slick to step on.
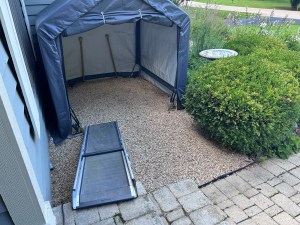
Spring 2026 – we swapped the pine bark nuggets for pea gravel
I used pine bark nuggets as the substrate for a few years, but after I saw a tick in there and freaked out, my husband recovered the ground with pea gravel. I think it’s even better for her to walk on.
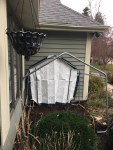
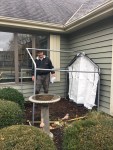
Pictures below are from the setup which took several hours. My husband also purchased anchors and tie-down straps to secure the shed to the ground – it ain’t going anywhere. As of January 2026, we’ve replaced the top once since our original purchase in November of 2021.
Prior to the 6 x 6 shed, we tried a larger shed. It worked fine at our last house, and was more than we needed, but was too big at our current house, so we downsized. We did, however, discover that having lights and a remote to turn them on and off from inside was incredibly handy!
Here is what we used for a while that was great but too big for our needs in our current home:
-
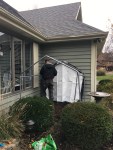
- Positioned so it was close to the basement door.
-
- Joel and Pen in the tent for perspective.
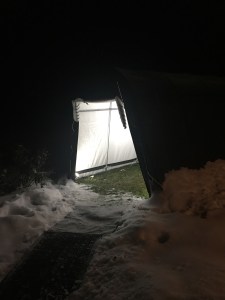
In the backyard of our current home:
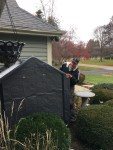
-
- 1st attempt with the large shed in our current house: the walk was too far.
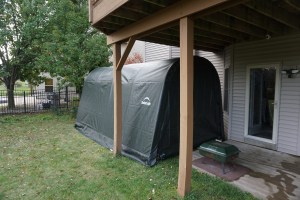
-
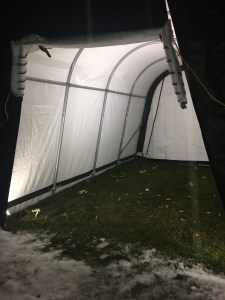
- Spacious, clear grass. You can park a car in there.
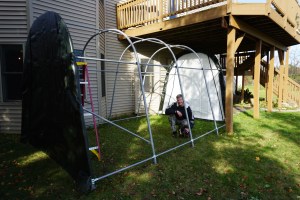
-
- Outdoor lights in the tent so we could see where we were going at night.
-
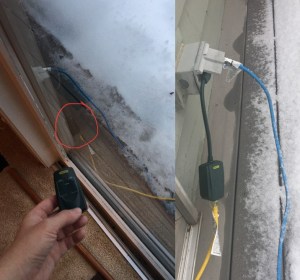
- Outdoor-rated outlet and remote control for the shed lights.
Original Post
Last year was one of the coldest winters on record with extremely heavy snowfall; I won’t soon forget it. As temperatures started to drop this past fall, I couldn’t help but fret about what winter would have in store for us this year and how it would take its toll on Peanut’s potty time. Considering how difficult the whole process was for all of us and knowing that her little body would be taxed even further with age, I really wanted to make this season easier to manage.
My first thought was to buy an outdoor dog kennel and cover it with tarps or boards. There was much discussion between Joel and I about the ideal size of the kennel, how much to spend, how much work it would involve, the likelihood of Peanut actually using it, etc. After all, we tried using a bottomless camping tent outside a few years ago but we believe she did not use it because she thought she was still indoors.
I searched craigslist often over several weeks to find used kennels that might fit the bill but we never found anything that stood out as the best option. Just when I thought this project was not going to happen, Joel proposed boarding up the sides of a pole tent we already owned.
Our project was a go.
A fine-looking potty tent indeed!
It has been over two months since we built the potty tent. I’ll cut to the chase and share that it has been a complete success ! We could not possibly be happier with the tremendous relief from the hassles of winters past. Why?
No snow or ice!*
No getting knocked over by high winds!!
Instant access to clear, odiferous grass!!!
What We Used
- 10 x 10 pole tent
- 9 sheets of medium-density fibreboard (MDF) 97 mm thick; 3’ x 11’ 7/8” (1.21m x 2.43m) These boards were not designed for outdoor use
- 2-3 boxes of small nuts and bolts
- Gorilla Glue
- 13 wooden lawn stakes
- 12 cable ties
- Table saw
- Center support board
- Truck (rented to get the boards to the house since our cars were not large enough)
Approximate total cost: $180 (excluding the tent which we already had)
The following is based on using the materials above and Joel’s measurements for our particular tent.
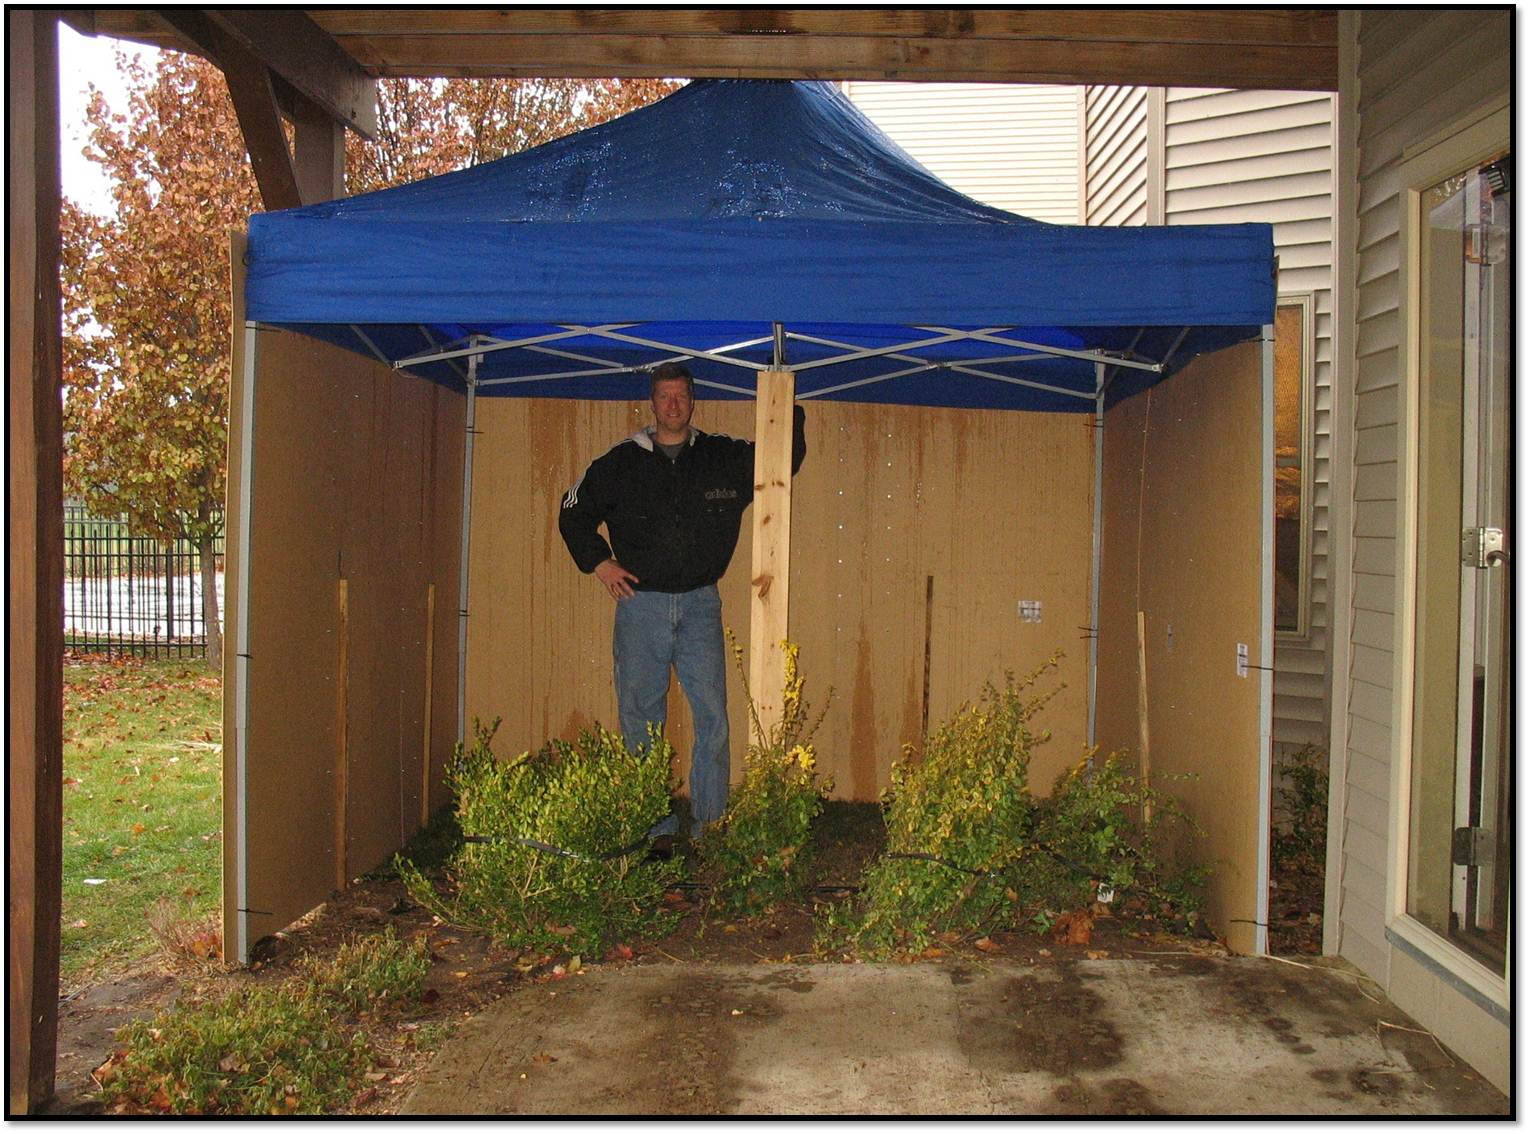
Confirming our plan: We put up the tent and picked out what we believed would be the best spot. We considered the distance from the door to the house and direction of wind.
Preparing the boards: This was a weekend project that Joel approximates took about eight hours. This included cutting the boards down two feet each in length so that they would not be taller than the tent. Boards were placed flat on the ground and overlapped about one foot on either side. For our tent, this meant using three boards per side for a total of nine. Joel then glued the overlapped sections together so that he had three full sides for the tent. Lastly, he drilled holes spaced about ten inches apart through the overlaps so that he could add nuts and bolts for extra strength.
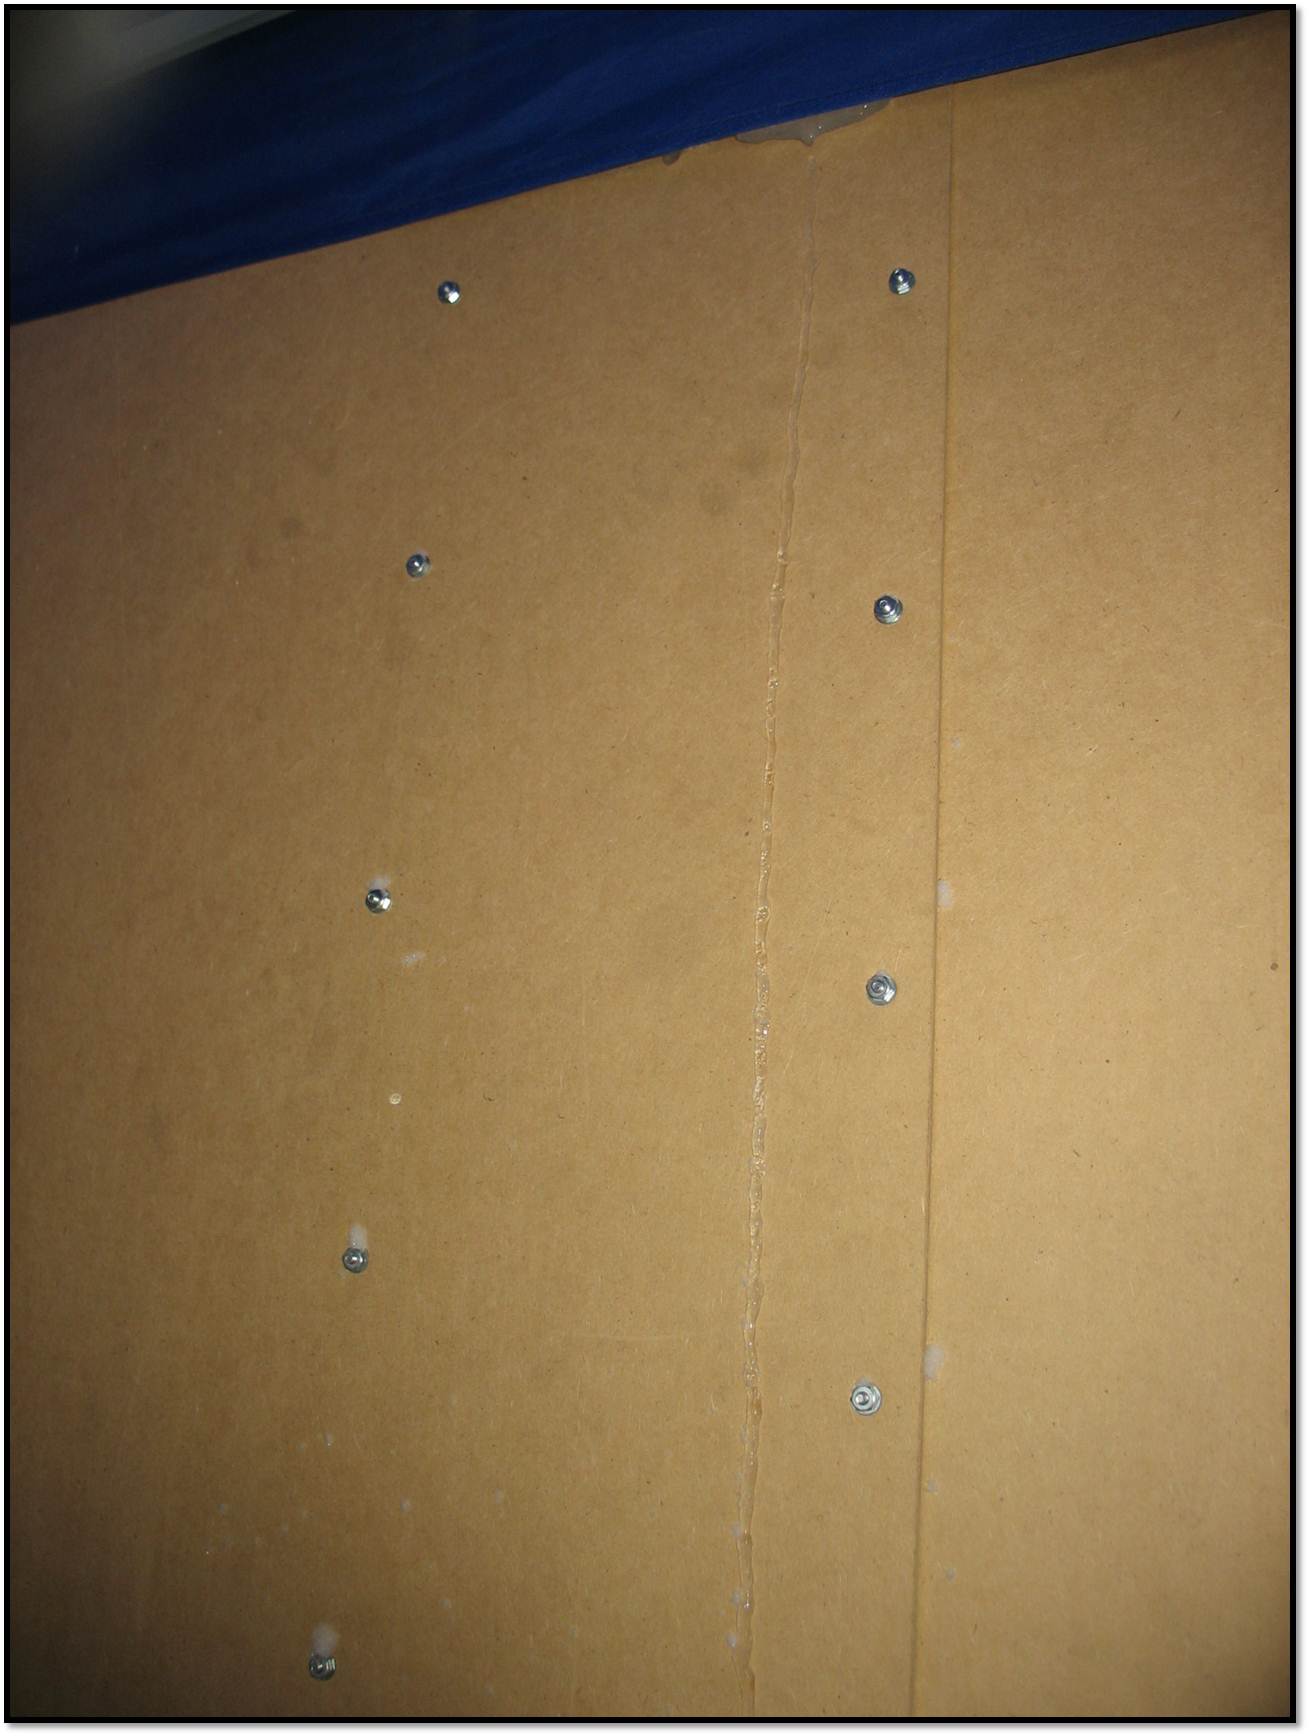
Close up of glue, nuts, and bolts.
Attaching the boards: We transported the three tent walls around to the backyard where the tent had been erected. With the boards propped upright against the tent legs, Joel drilled holes into the boards where they met at the corners (top, middle, and bottom). This is where we fed the cable ties through, securing the boards to each other.
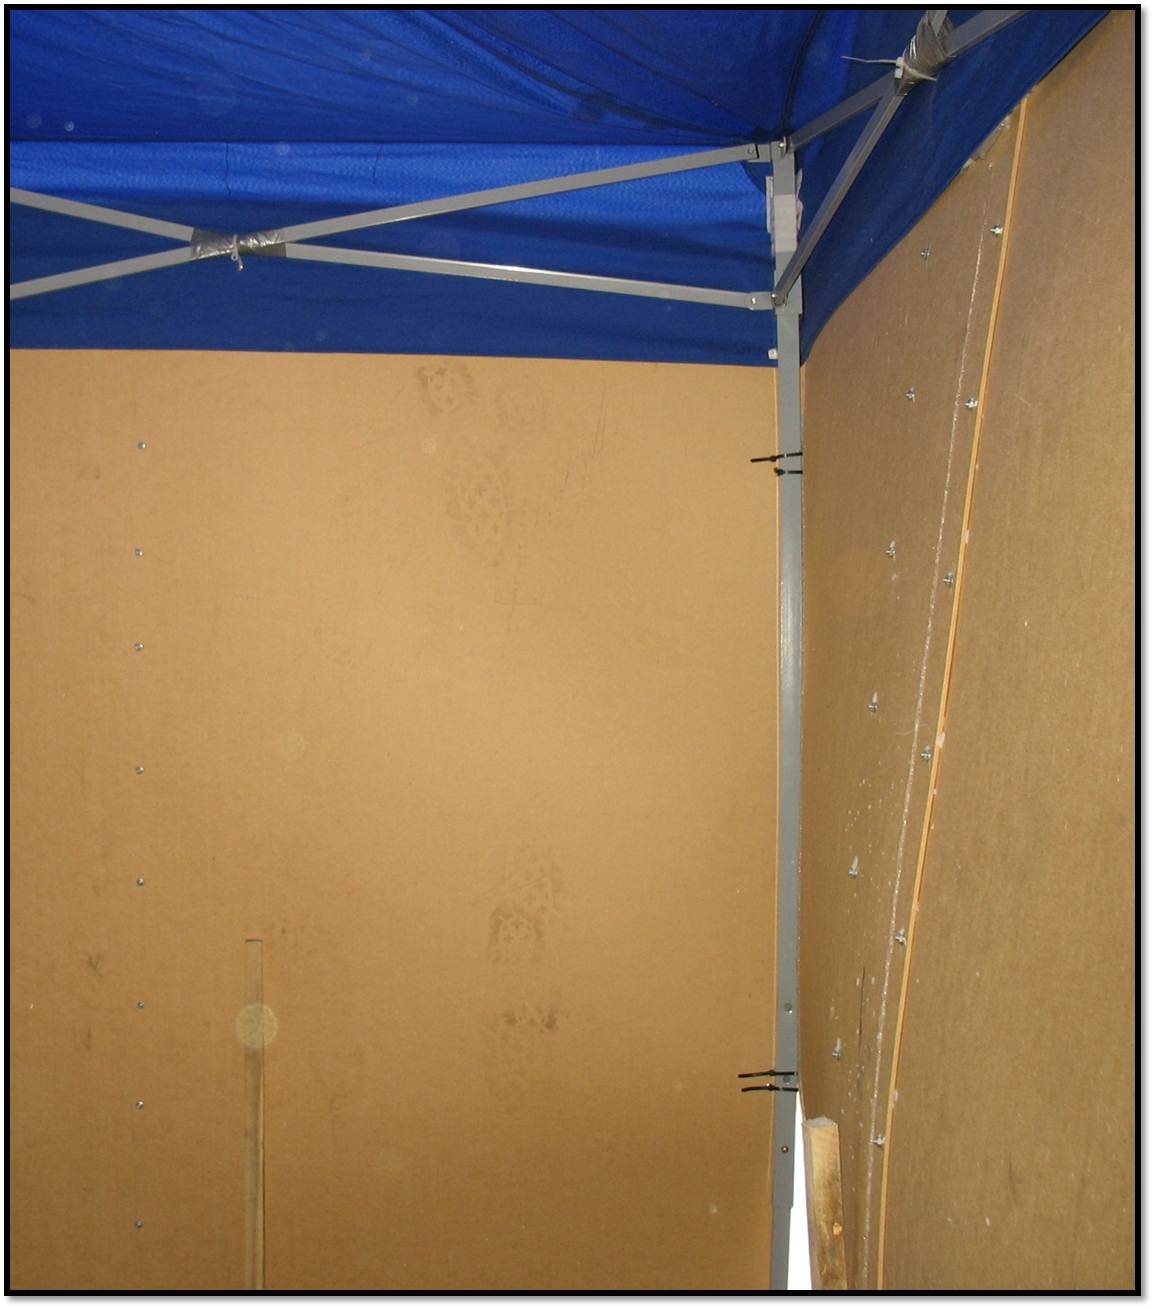
Duct tape secures the tent frame. Cable ties (2 of 3 shown) secure boards at right angles.
Slight buckling is is visible after two months.
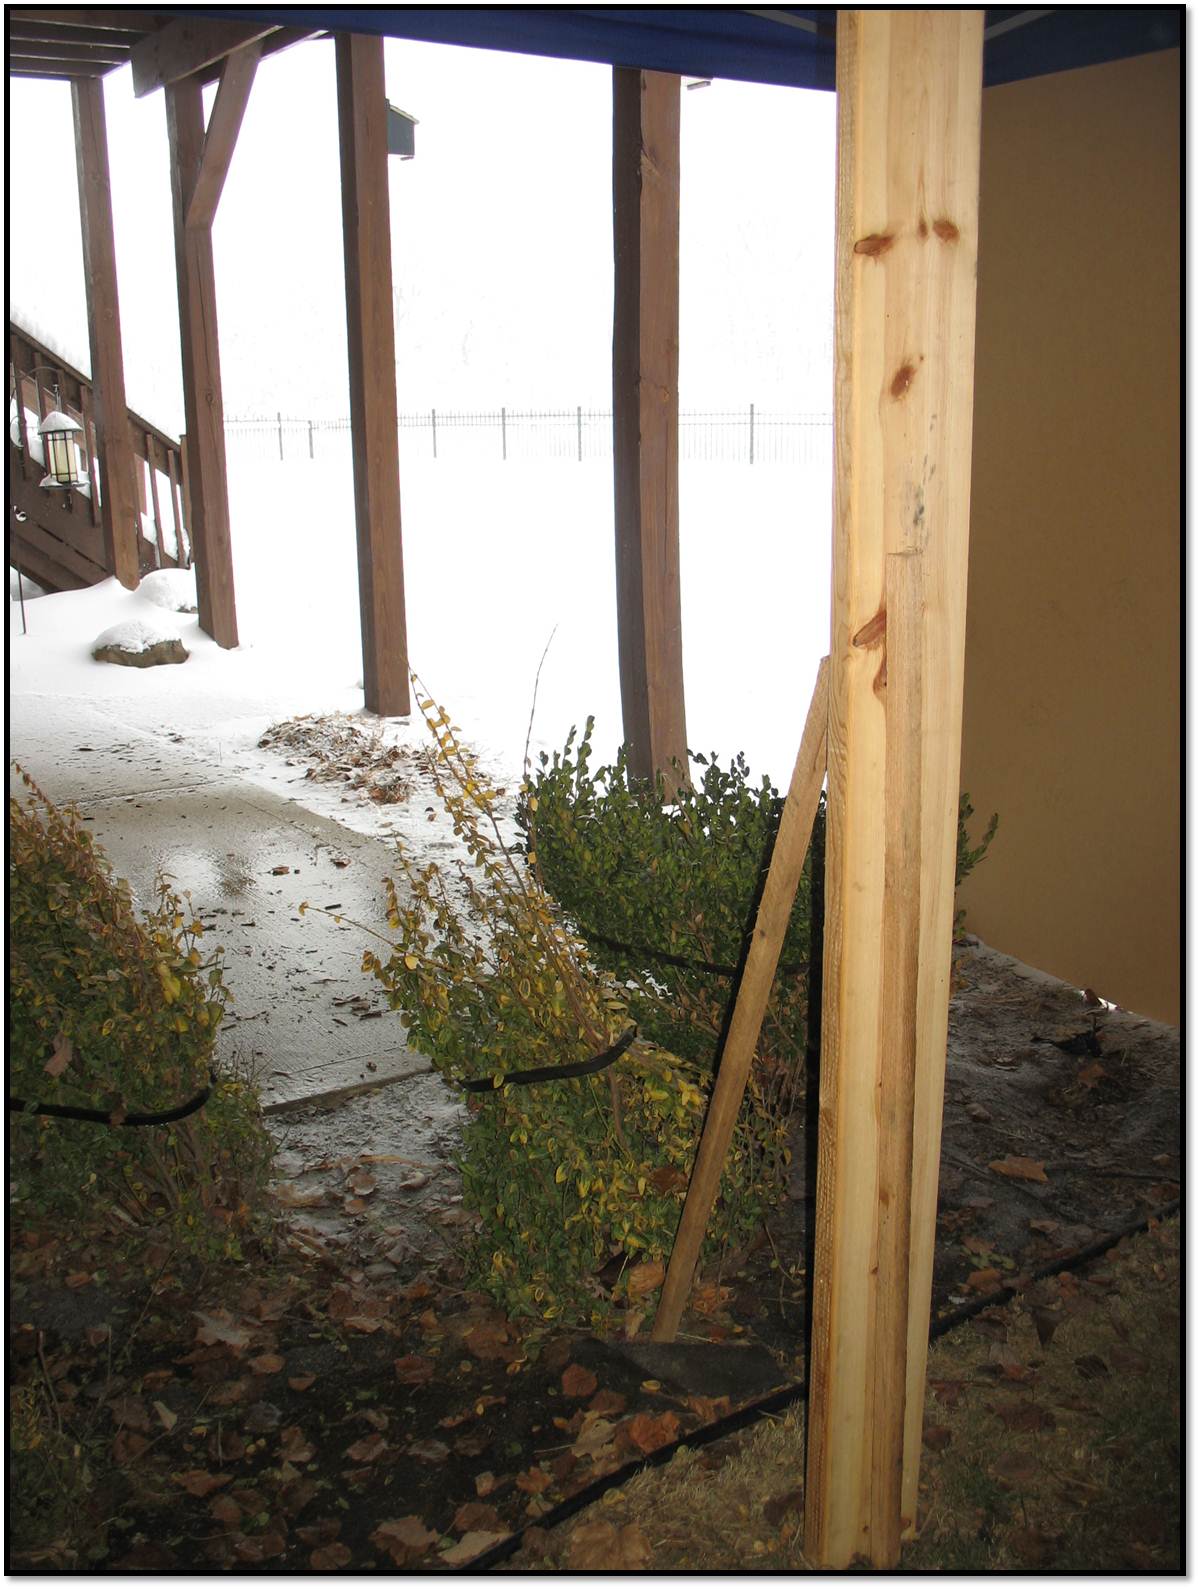
Securing the tent: The last steps included pounding in the wooden lawn stakes. This was meant to help stabilize the walls with the buckling and movement we expected to occur from winds and general outdoor wear and tear. The stakes were added to both the inside and outside for stability and extra strength against wind.

Two outside stakes are visible. This has to be done before the ground freezes.
The potty tent was completed in the nick of time. It snowed that same weekend. We were deliriously happy that the tent remained completely clear, however, Peanut was not immediately sure what to make of it. We had to keep her in socks since she ambled in and out of the tent for several days. I later added two small leaf piles to the tent when I made the connection that leaves seemed to…inspire her. That’s all it took. Once she went potty in the tent, the rest of the snow-covered yard became completely undesirable.**
View from inside.
After two months’ time, the boards have buckled a bit but it’s not bad. We made it a point to brush off any snow that would collect on the top of the tent because the cover is only a thin canvas material. Because we grew concerned about just how much snow the cover could take, we added a tarp over the tent draped down at an angle from our deck for added security. I’m not sure how we would have reinforced the canvas top if we didn’t have this option.

View of inside. Several wooden stakes support the walls on all sides.
We’re delighted that the tent has provided an excellent barrier from snow and wind; it’s exactly what we hoped for and then some. The benefits we have all enjoyed have far exceeded the cost of materials and our efforts to build it. We don’t intend for this tent to be up year round, only for winter. It would be great if we could reuse these same materials, but if not, we will absolutely consider investing in sturdier components for future use.
Hopefully others who have similar problems can use this idea to create their own wintertime potty oasis!

Peanut gives the potty tent two dew claws up!
*A little snow collected in the corners when winds were extremely high.
**Peanut also made the connection that being in the potty tent equaled treats. Because she is so food-motivated and a bit too smart for her own good, she would go in there and do somewhat of a curtsy while staring at me like she did her part and now it was my turn. We had to once again start rewarding potty anywhere she went outside, just so long as she knew that inside the tent area was also an acceptable choice.
UPDATE: My suggestion to anyone interested in researching options would be to also check out fabric sheds (aka temporary or portable garages) from big box retailers like Home Depot and Menards.
Read the reviews for various sizes. You’ll likely find mixed reviews that some did and did not hold up in high winds and snow; I think a lot of it has to to do with how the shed/portable garage is set up, secured, and maintained. If you want to set-it-and-forget-it you have to get something really substantial and durable. Read what some folks did to strengthen and secure the structures. Notice how our tent has a wooden board dug slightly into the ground, centered in the very middle and secured to the top/center of the tent, providing extra stability against high winds.


You. Are. Awesome. And probably the most amazing dog owners I’ve ever heard of! Hope this weekend’s blizzard didn’t make it unusable.
Thank you, that is SO sweet of you to say! Because she has always been fantastic about going outside all these years, we feel badly for her as a senior with achy old bones trying to do the right thing in nasty weather. I’ll never understand it but she has to find THE right spot. Even when we do our best shoveling we can tell she gets exasperated that there aren’t any good spots. YES, the tent held up even after 20″ of snow!! WHOO HOO!!! 🙂
Pingback: The Dogged Battle of Frosty Paws | The Fickle Feather
How does this area get “disinfected” over winter? Obviously pick up the poop instantly but what about the urine? Do you spray it with water or some other agent?
We don’t do anything different about the urine in winter. In the large tent, it’s going into grass and the dirt below, as it would be anywhere else in the yard. Because the front of the house didn’t have grass, just dirt that will freeze over, we added mulch so it has somewhere to go. Because it’s outside and the tent stays open, there’s been no issue with smell or any particular area getting too overloaded with urine (or poop that’s easy to clean up). Since the mulch process is new for us, we’ll probably replace that little area with fresh mulch in spring even though we’ll remove the shed.